DIY Stacked Book Tutorial
Stacked Book DIY Tutorial

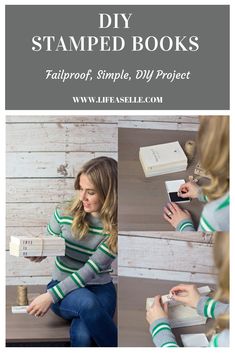
Do you ever scroll through Pinterest and think… I can totally make that? So you gather the supplies, only to start the DIY project and realize it’s not nearly as easy as you thought. But you continue on, hoping you might be able to recover, but it turns out to be a total #pinterestfail. I hope this just doesn’t happen to me, and you are reading this and silently saying me too, me too!
You might have already seen the “stamped book stack” on Pinterest. But, I have created a simple version of that DIY project- this one is failproof, takes about 10 minutes to make and looks cute on any shelf!
Step 1- Figure out the saying you want to stamp on the book, I picked “this is us”.
Step 2- Decide how many words you want on each book, so you know how many books you will need. I decided to have one word on each book, so I needed three books.
Step 3- Remove the cover off each book.
Step 4- Decide where on the spine of the book you want to stamp the text, I picked the left side.
Step 5- Press the stamp firmly into the ink, but make sure to wipe off the edges of the stamp with a paper towel before you stamp the book.
Step 6- Repeat step five for each letter of each word.
Step 7- Tie the books with yarn or string, however, you like.
Step 8- Take a minute to enjoy your successful DIY project.
If you are looking for another easy DIY project, be sure to checkout my succulent planting DIY.
Photos by Photography by JMK


